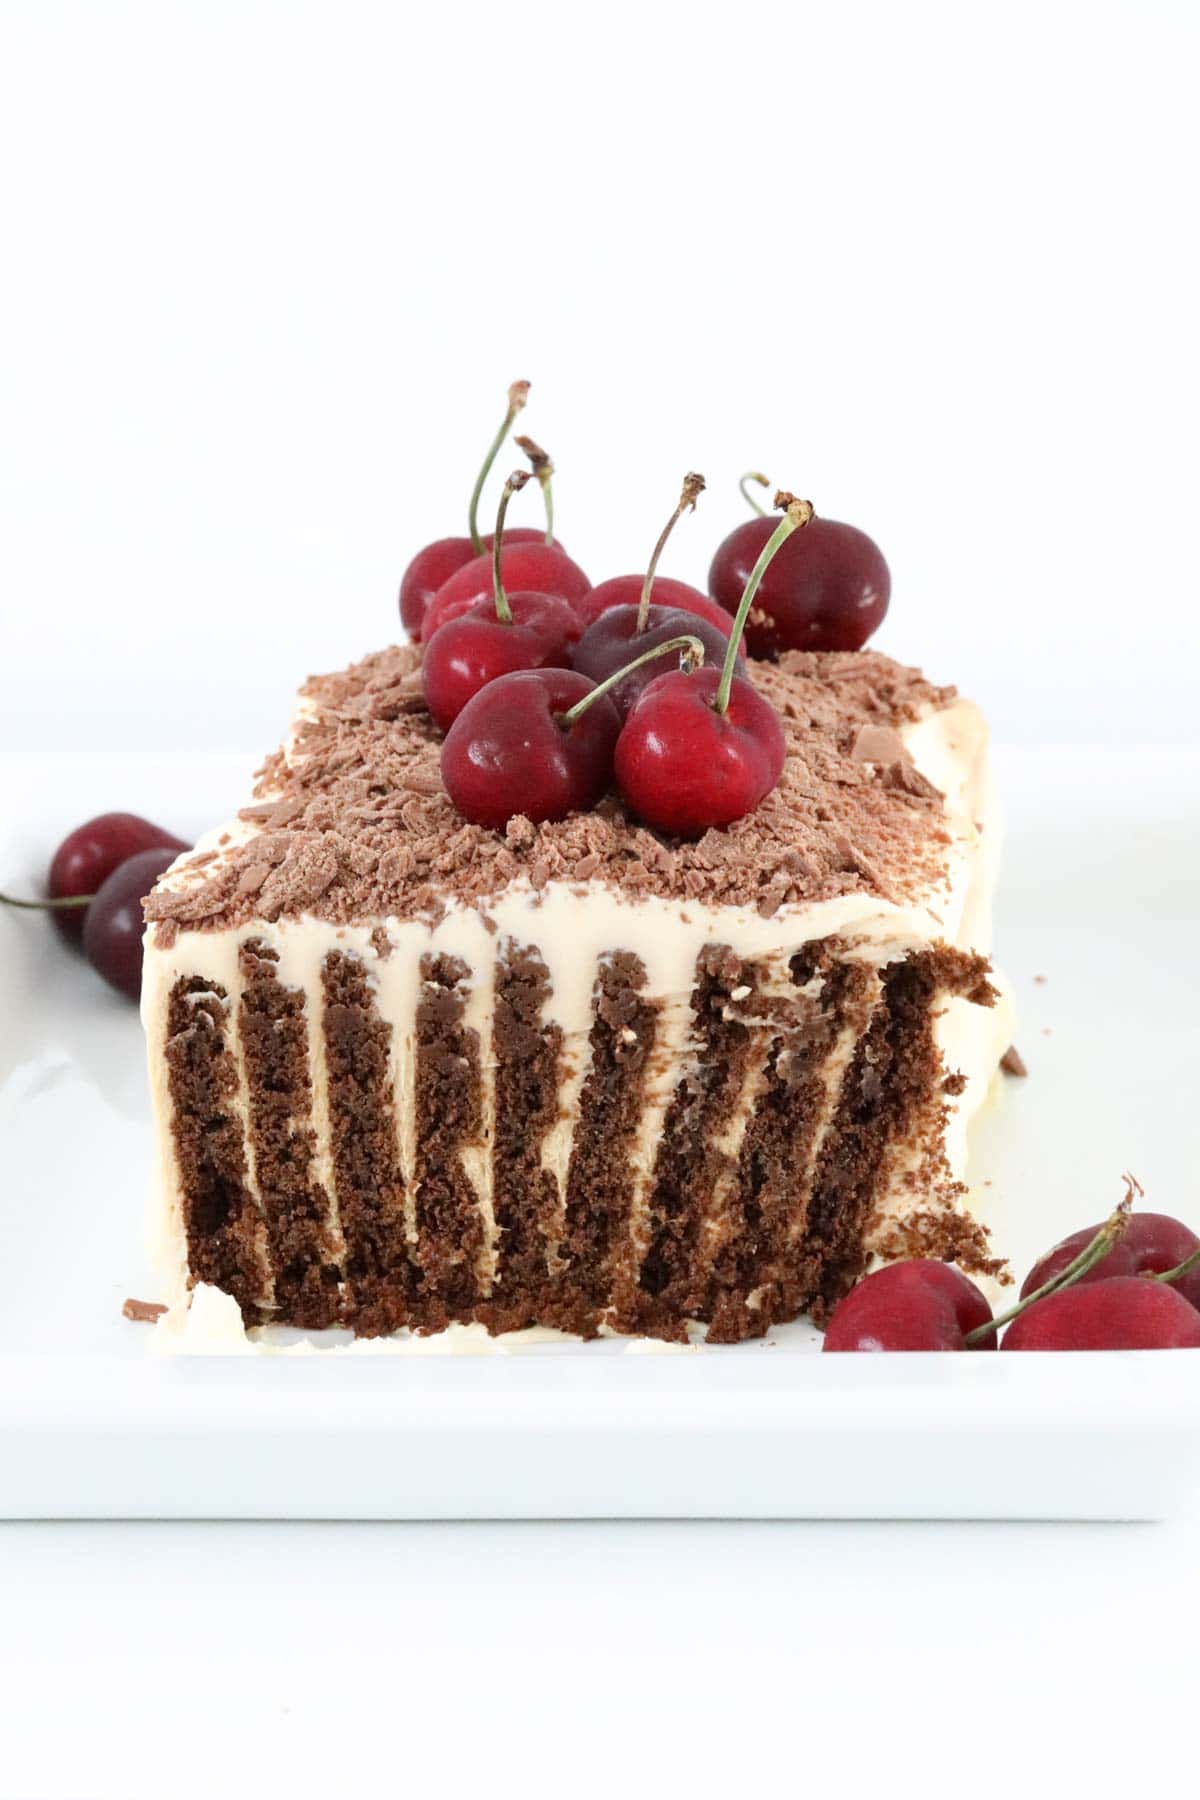
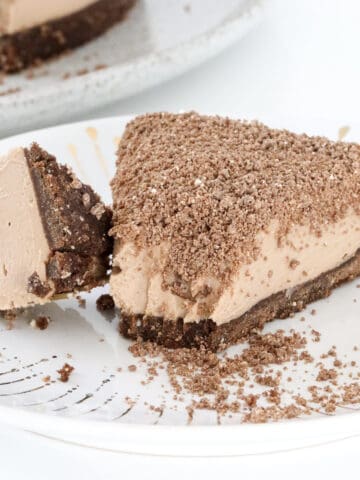
A classic Thermomix Chocolate Ripple Cake decorated with grated chocolate and fresh cherries! Just 5 minutes prep time.
Chocolate ripple cake is a classic Australian chilled dessert made using Arnott's choc ripple biscuits!
It's popular all year round... but especially during summer and at Christmas time!
Prepare the Thermomix chocolate ripple cake and then chill overnight until the biscuits have softened.
This really is the perfect summer dessert!
Why You're Going To Love This Recipe
There's so much to love about our Thermomix Chocolate Ripple Cake recipe!
- No-Bake - this chocolate ripple cake involves ZERO cooking, meaning you can prepare it in minutes and then chill it in the fridge.
- Chilled Dessert - this refrigerator dessert is perfect for summer BBQs and Christmas!
- Prepare Ahead Of Time - because a choc ripple cake needs to be chilled overnight, it's the perfect dessert for when you need to be organised and have dessert ready ahead of time.
- Versatile - decorate the chocolate ripple cake with any of your favourite toppings - berries, Peppermint Crisp bars, grated chocolate, cherries etc.
What You Need
Let's make Thermomix Chocolate Ripple Cake!
Please scroll to the recipe card at the bottom of the post for ingredient quantities and the full detailed method.
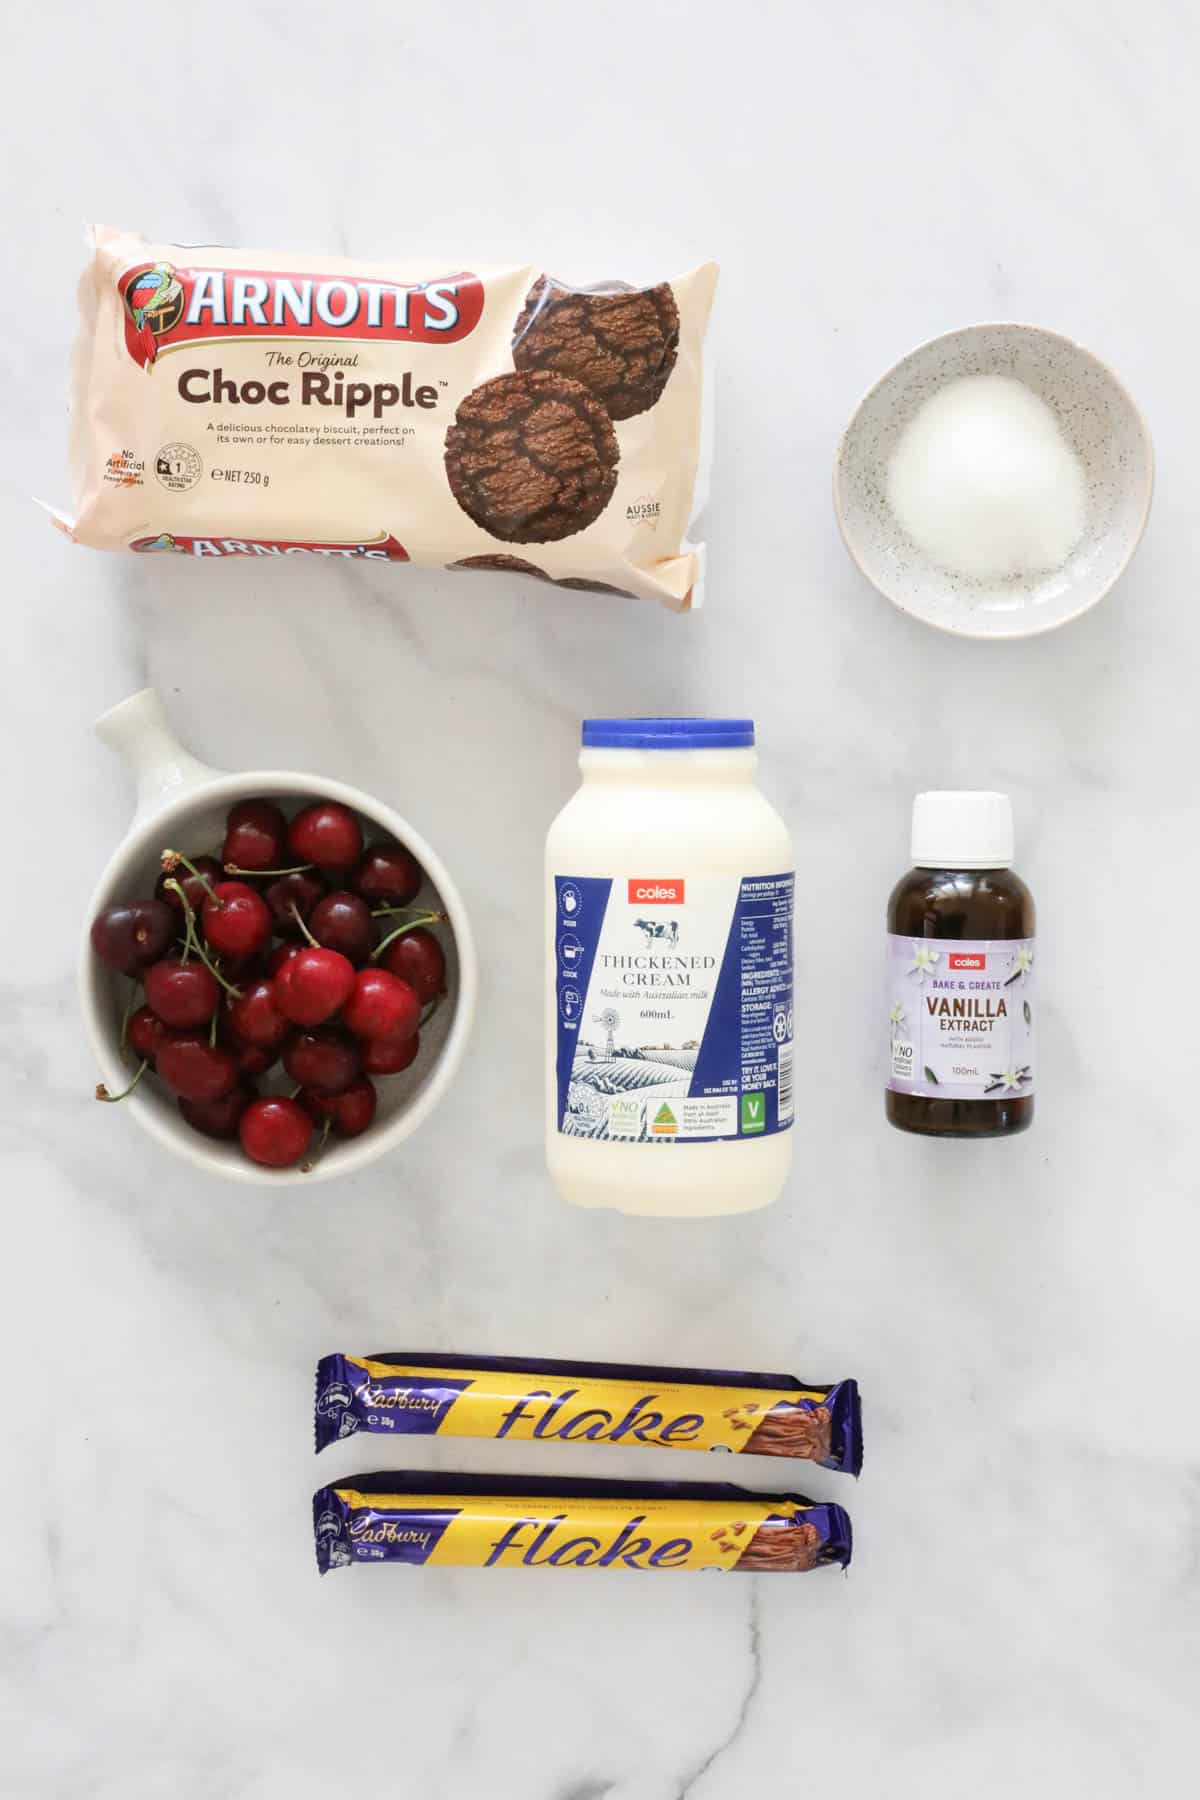
You will need:
- Arnott's Choc Ripple biscuits - popular here in Australia! Alternatively, substitute for any other plain chocolate biscuit.
- Cream - use thickened or whipping cream (not light or cooking cream)
- Caster Sugar & Vanilla Extract (optional) - for flavouring the cream.
- Cherries & Grated Chocolate (or Flake bars) - for decorating.
Step By Step Instructions
It couldn't be easier to make this no-bake chilled dessert!
Please scroll to the recipe card at the bottom of the post for ingredient quantities and the full detailed method.
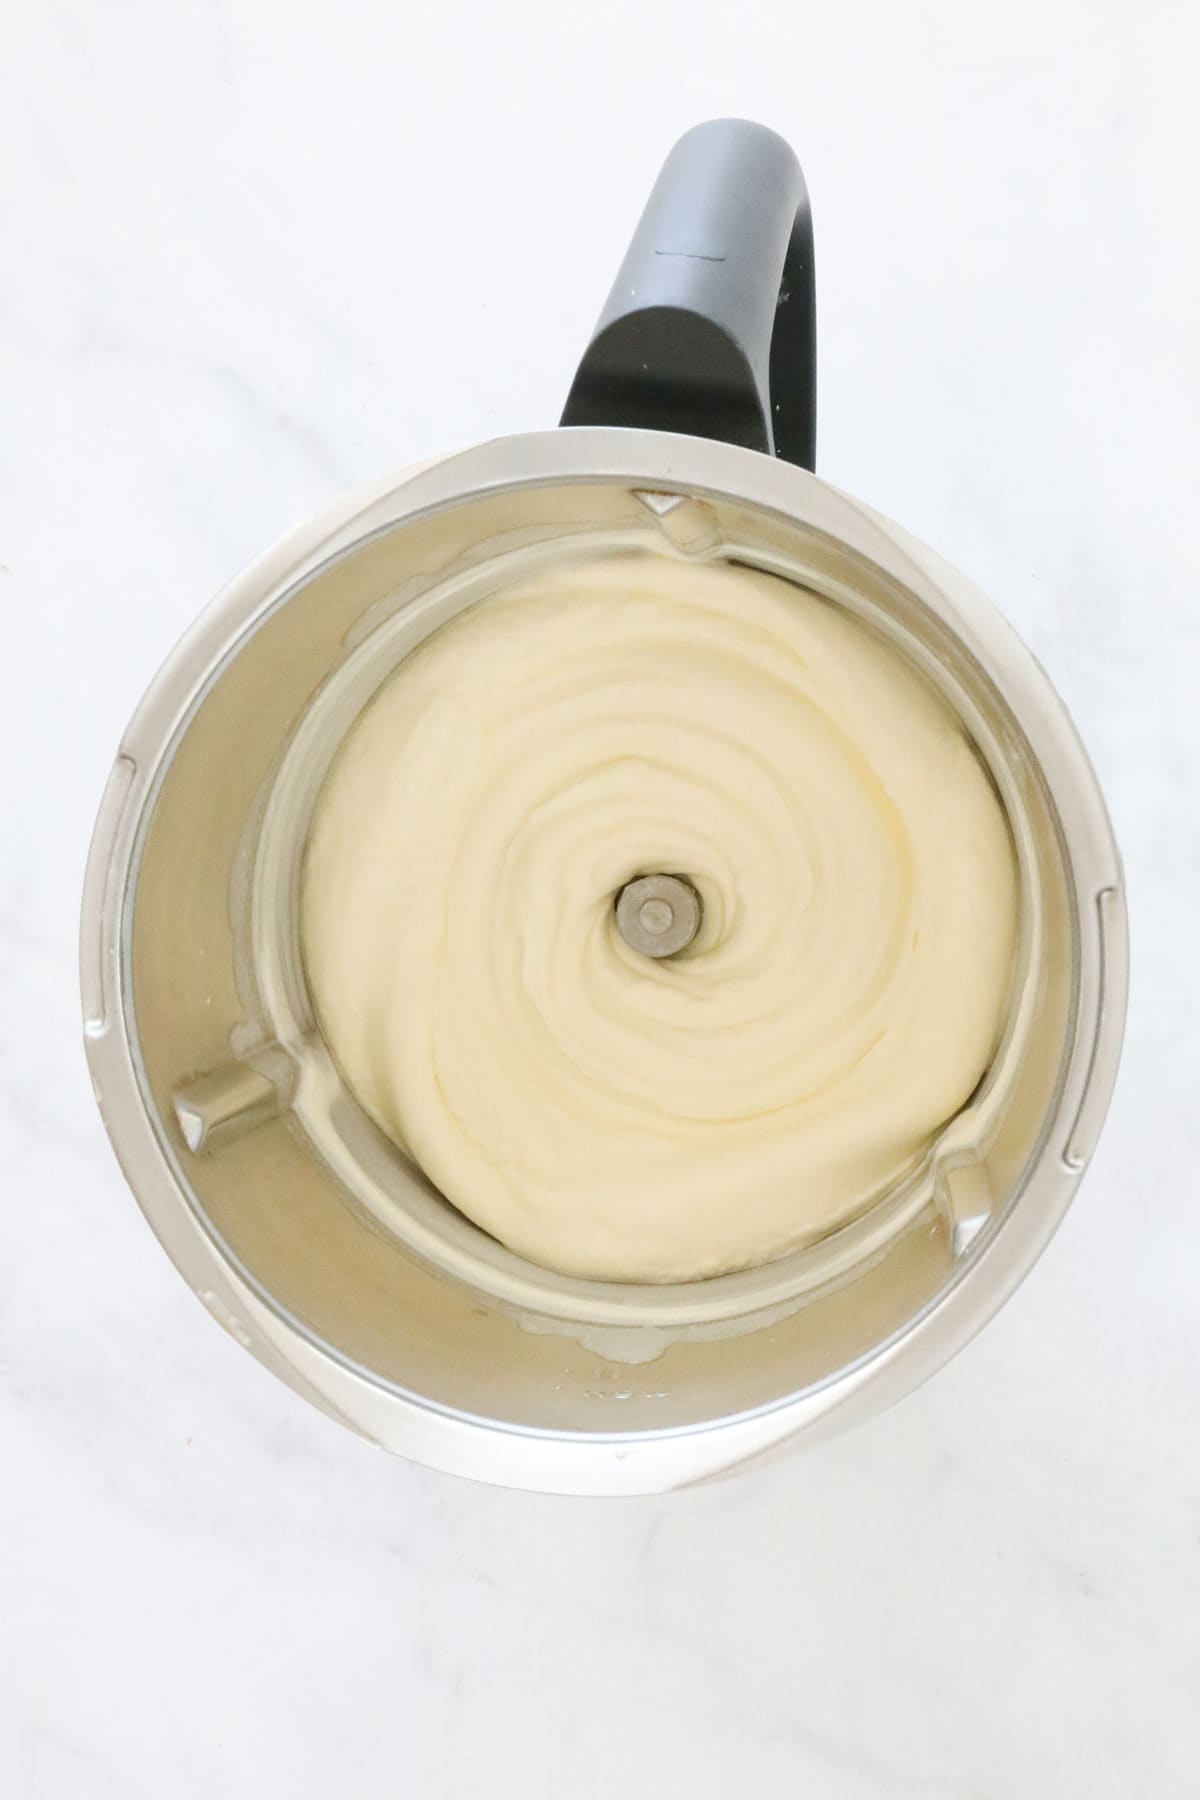
Step 1 - Whip The Cream
Place the cream, caster sugar and vanilla into the Thermomix bowl.
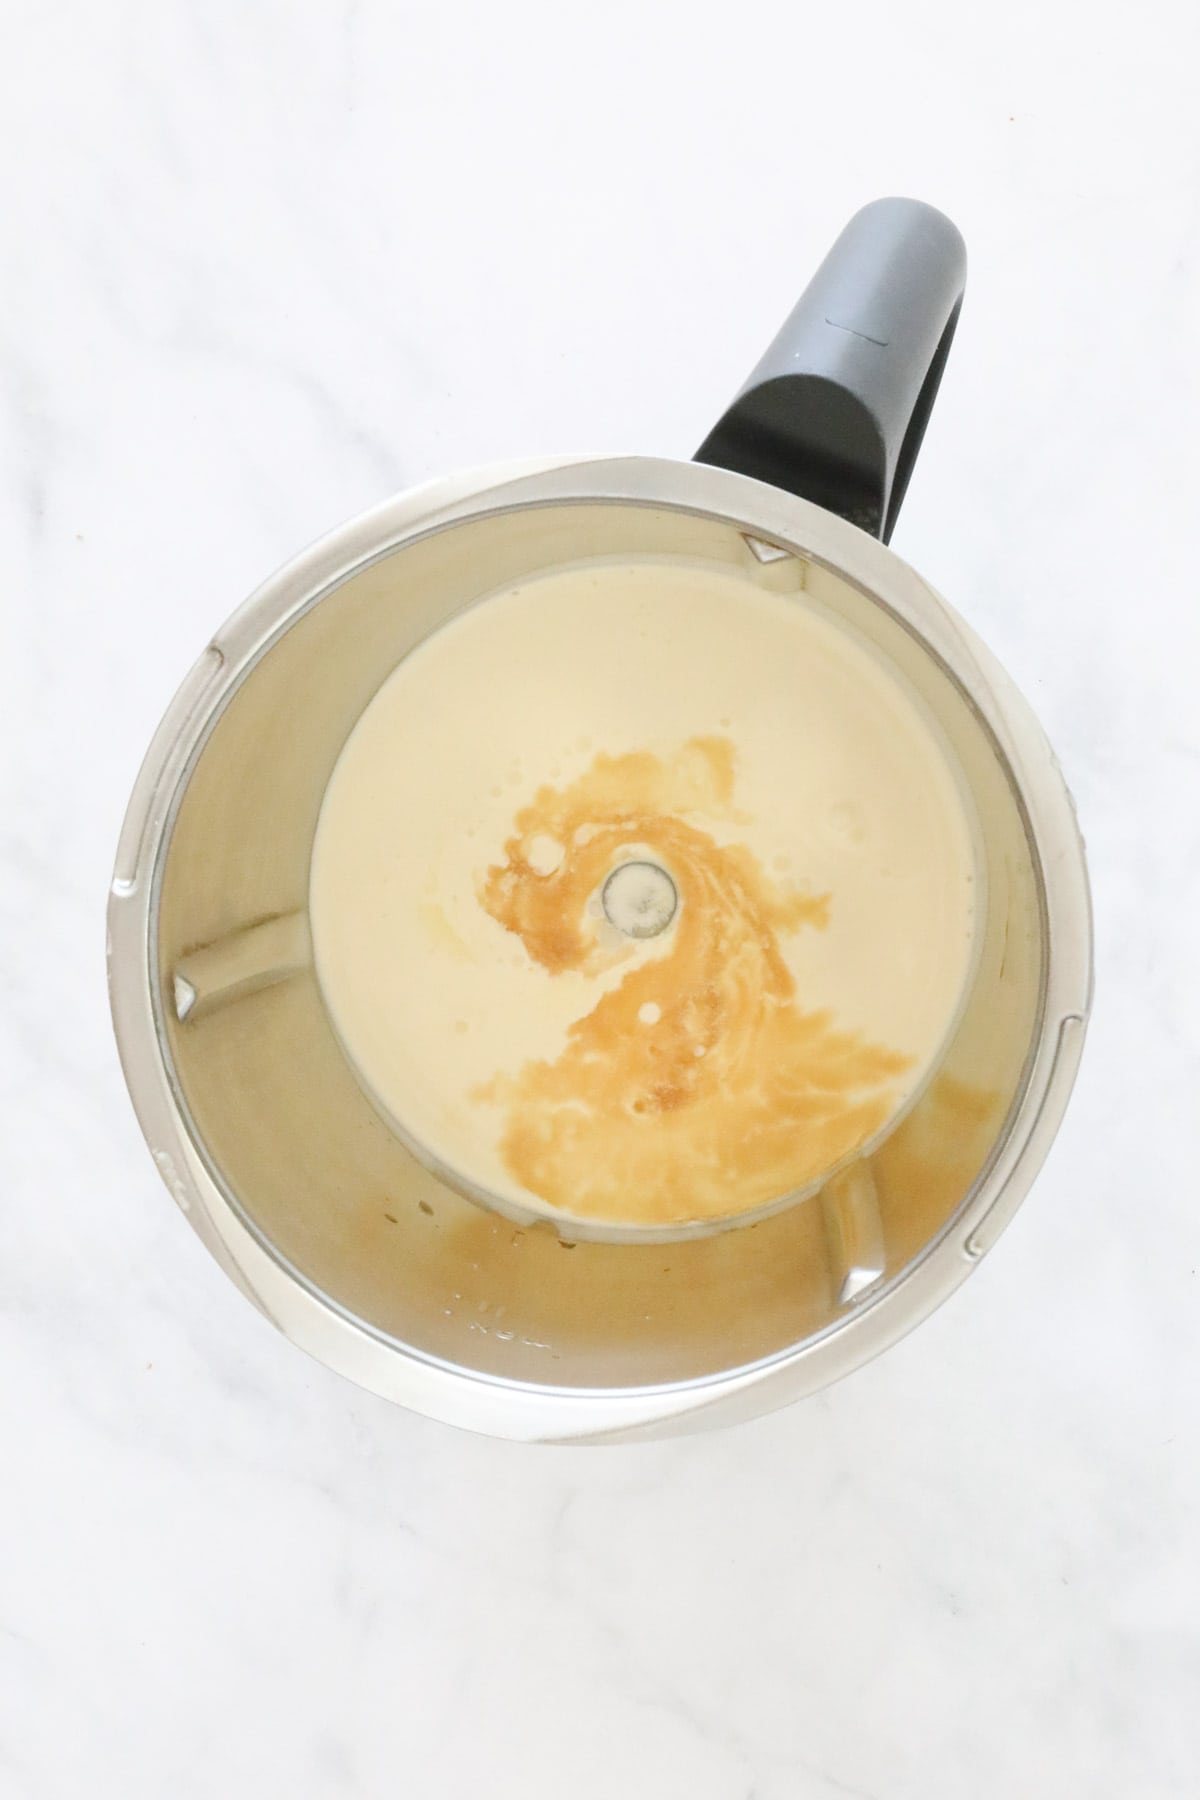
Whip the cream until soft peaks form.
Note: the amount of time it takes for the cream to whip will depend on how fresh the cream is.
Step 2 - Add Cream To The Biscuits
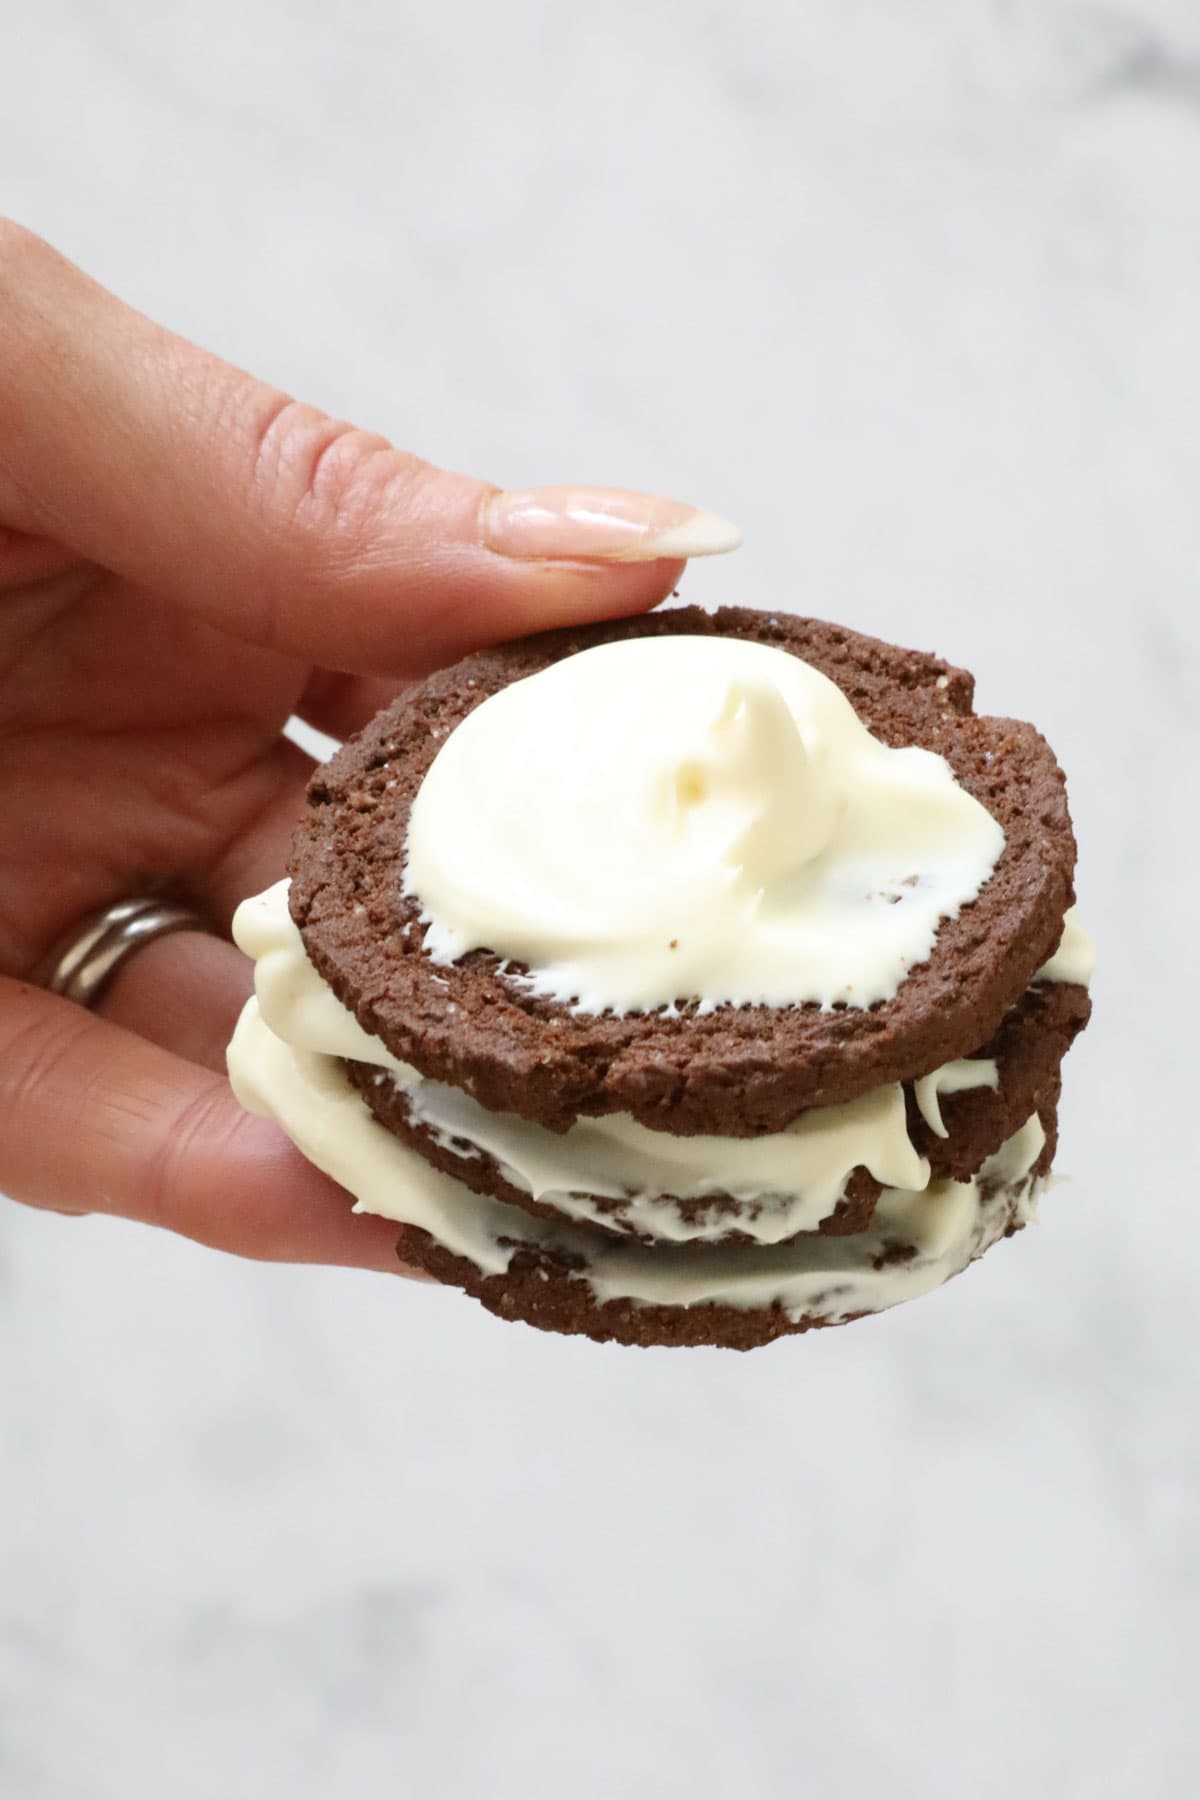
Add a small amount of whipped cream to the flat side of a choc ripple biscuit.
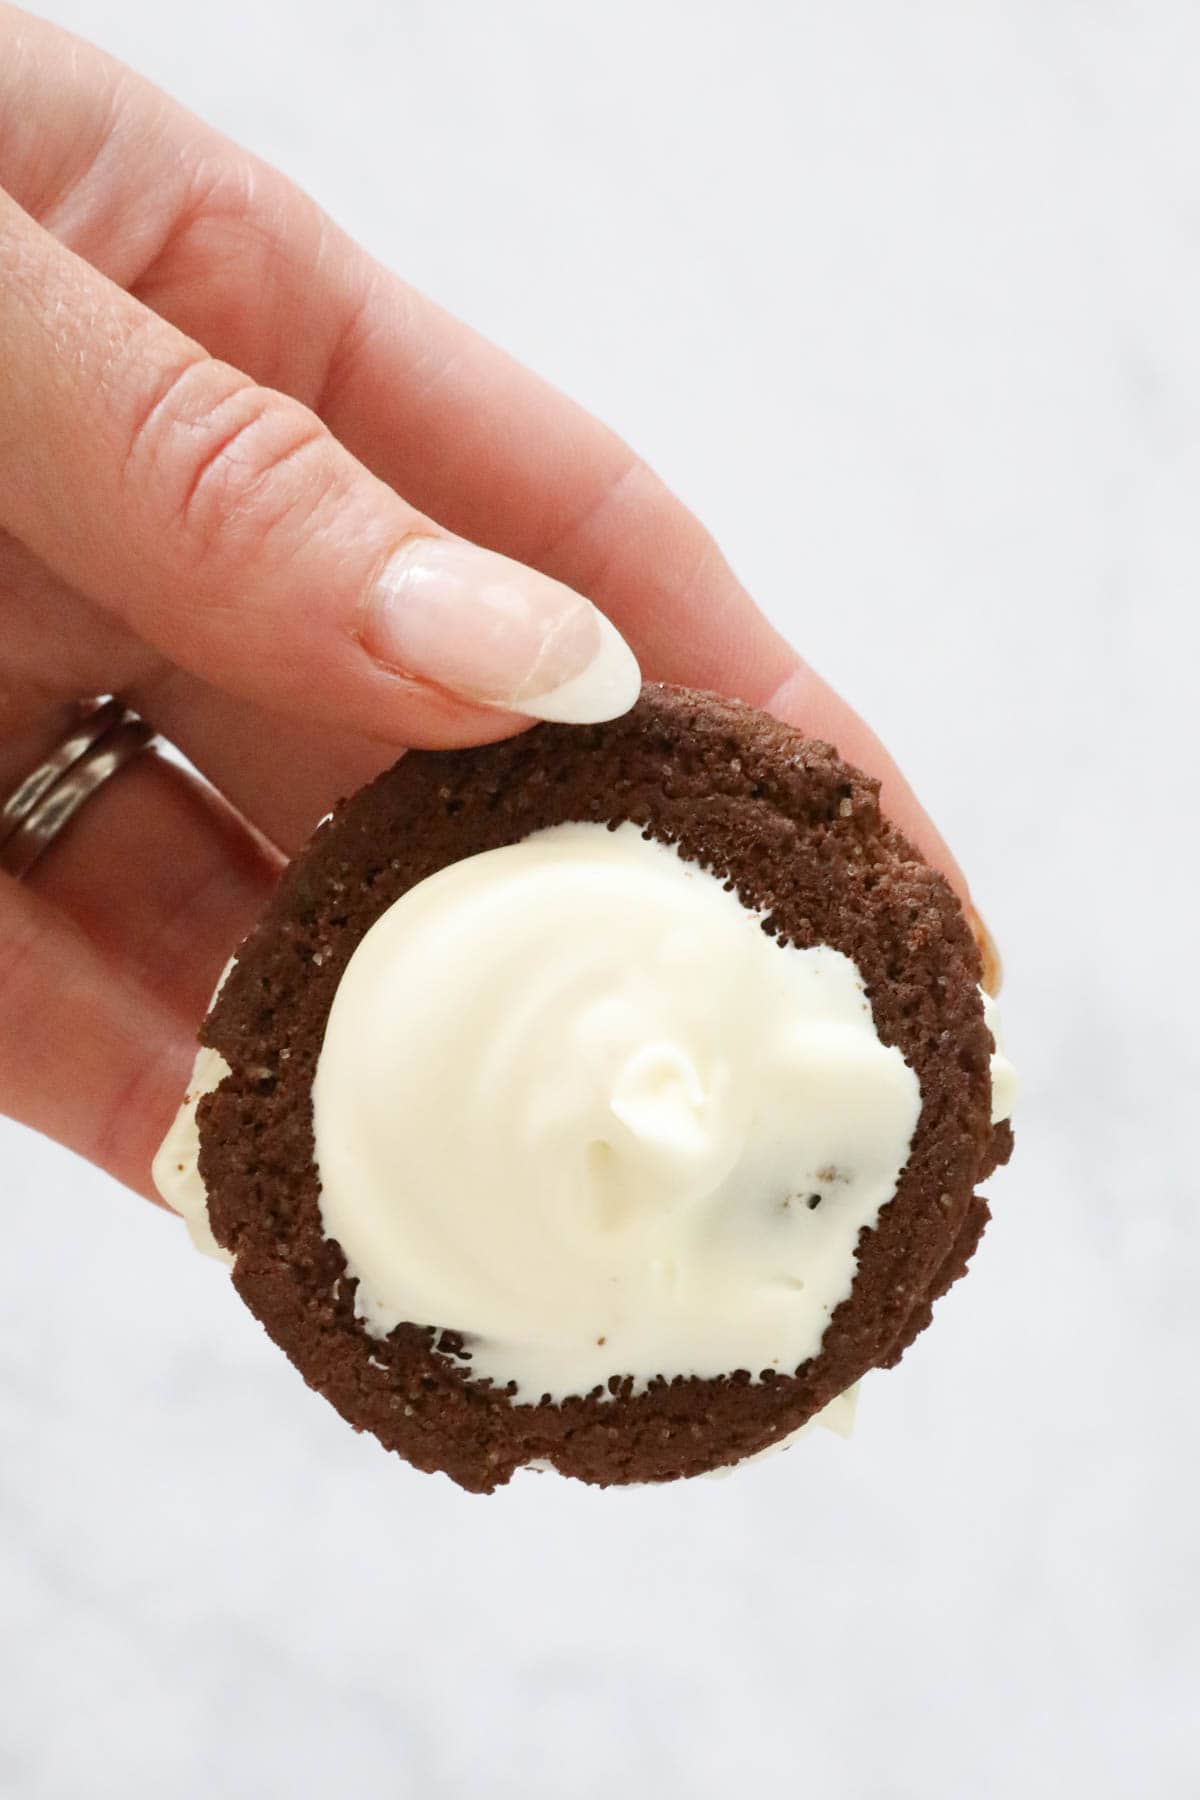
Sandwich together with another biscuit and repeat with the cream.
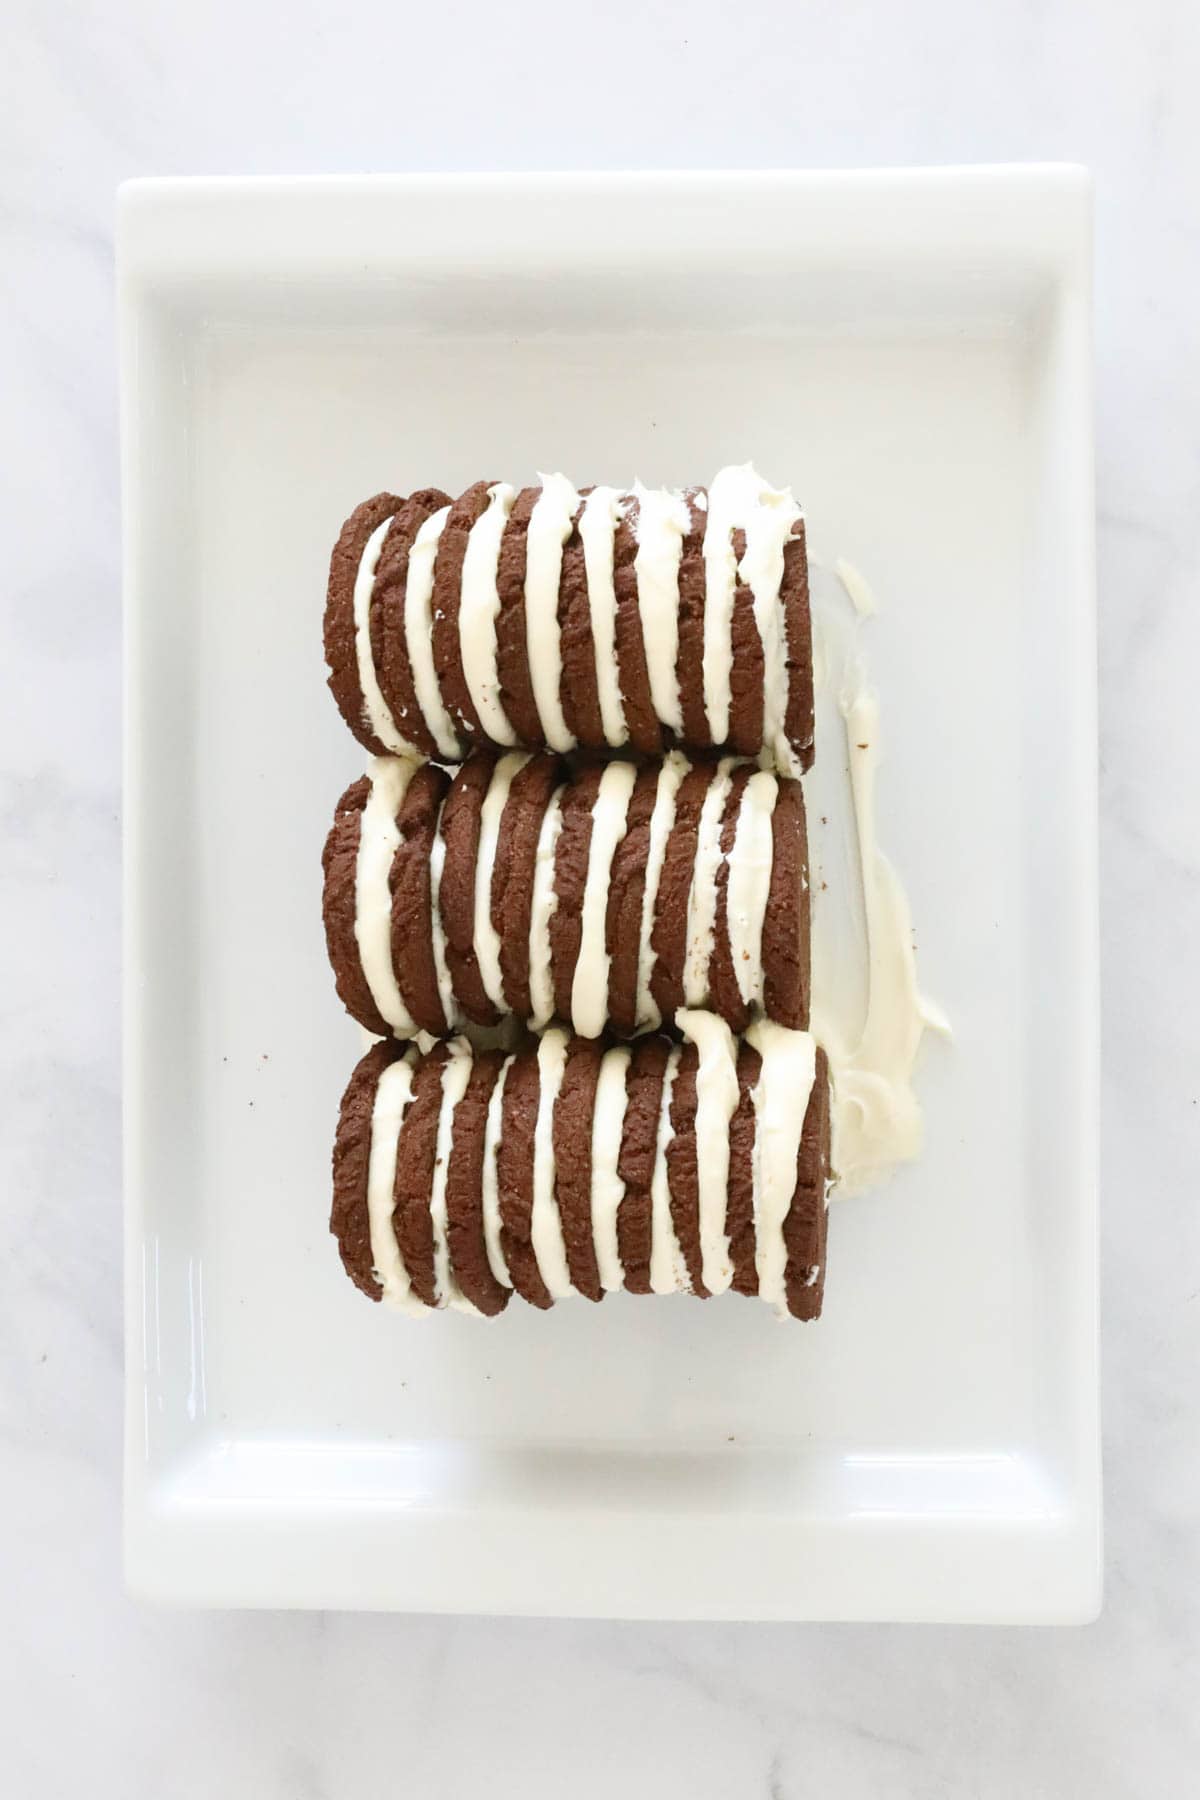
Step 3 - Assemble The Cake
Once you have a stack of biscuits and cream, place them onto a serving dish.
Repeat until you have used all of the biscuits.
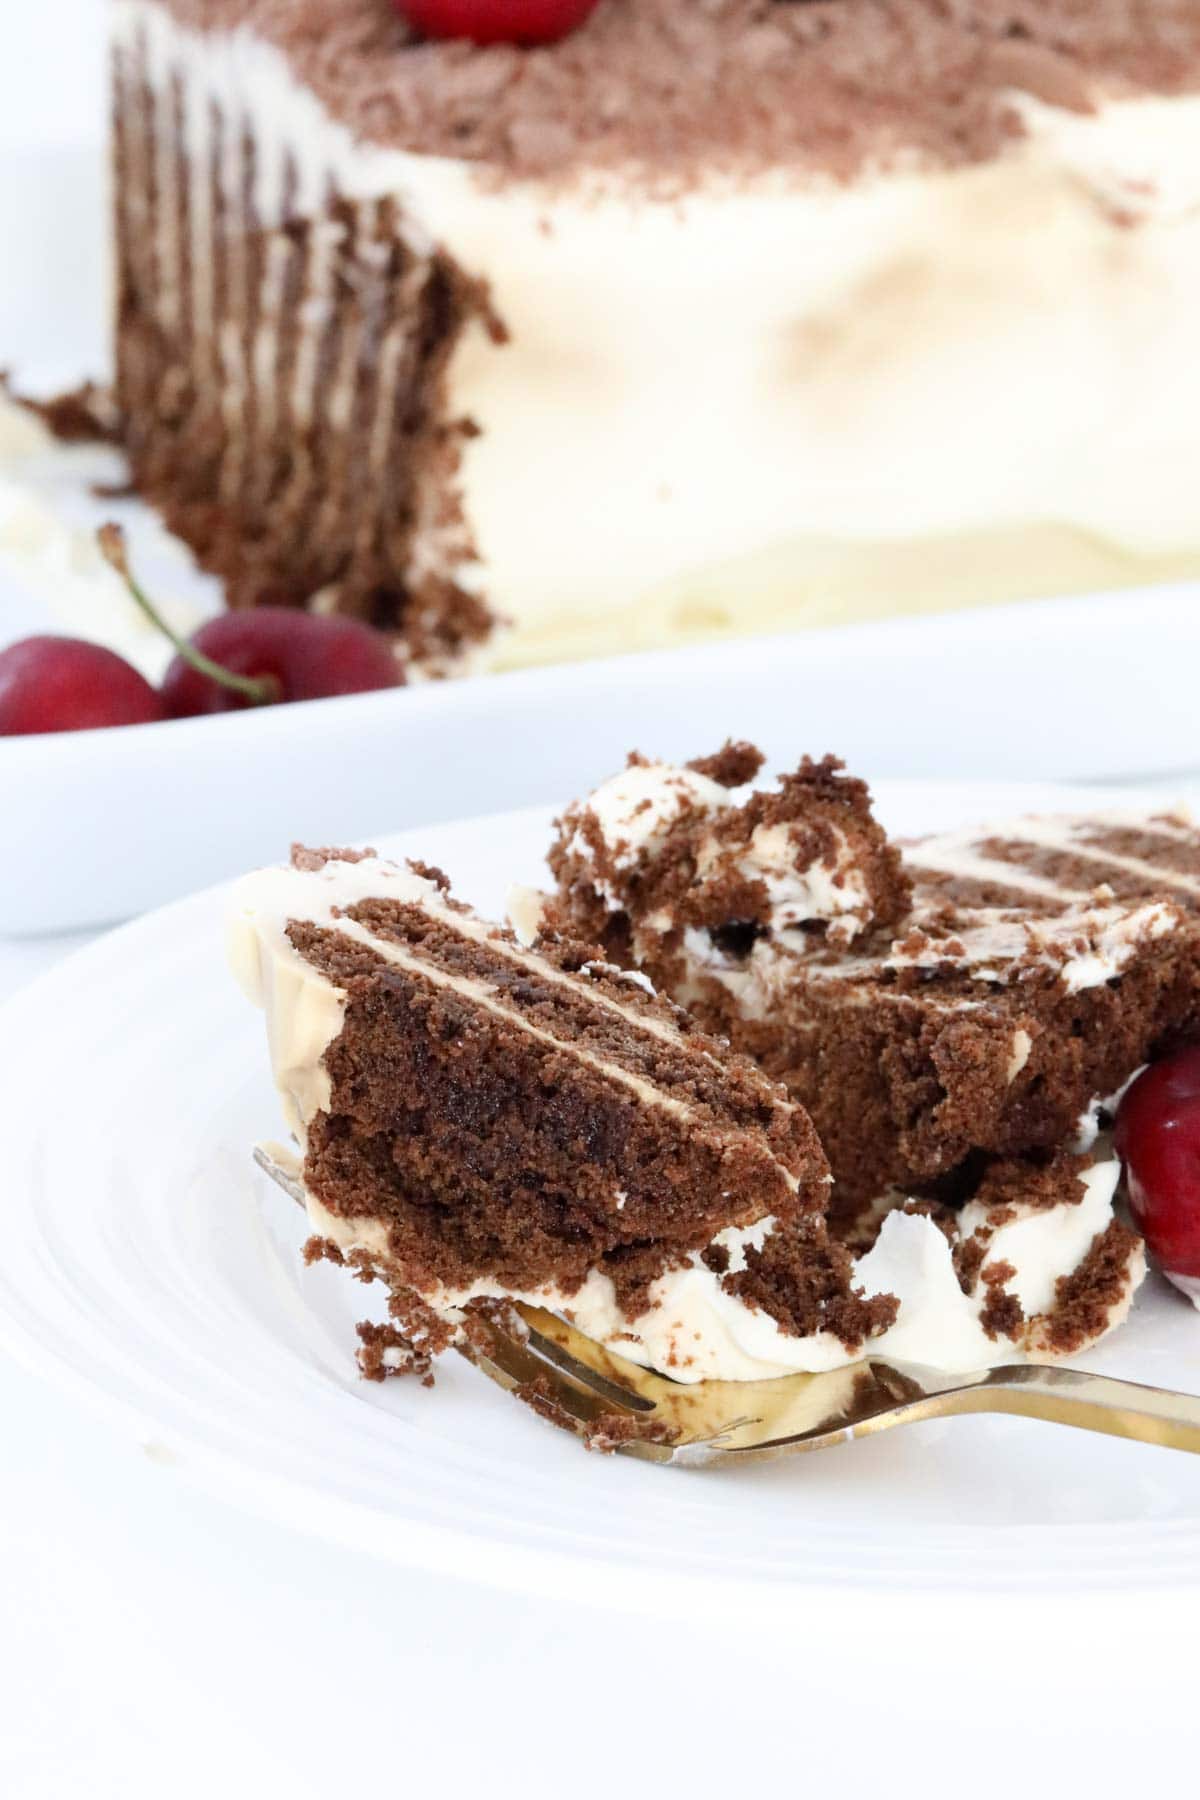
Note: you can place the biscuits in an arrangement like below, or in a long log (or even a wreath shape!)
Step 4 - Decorate
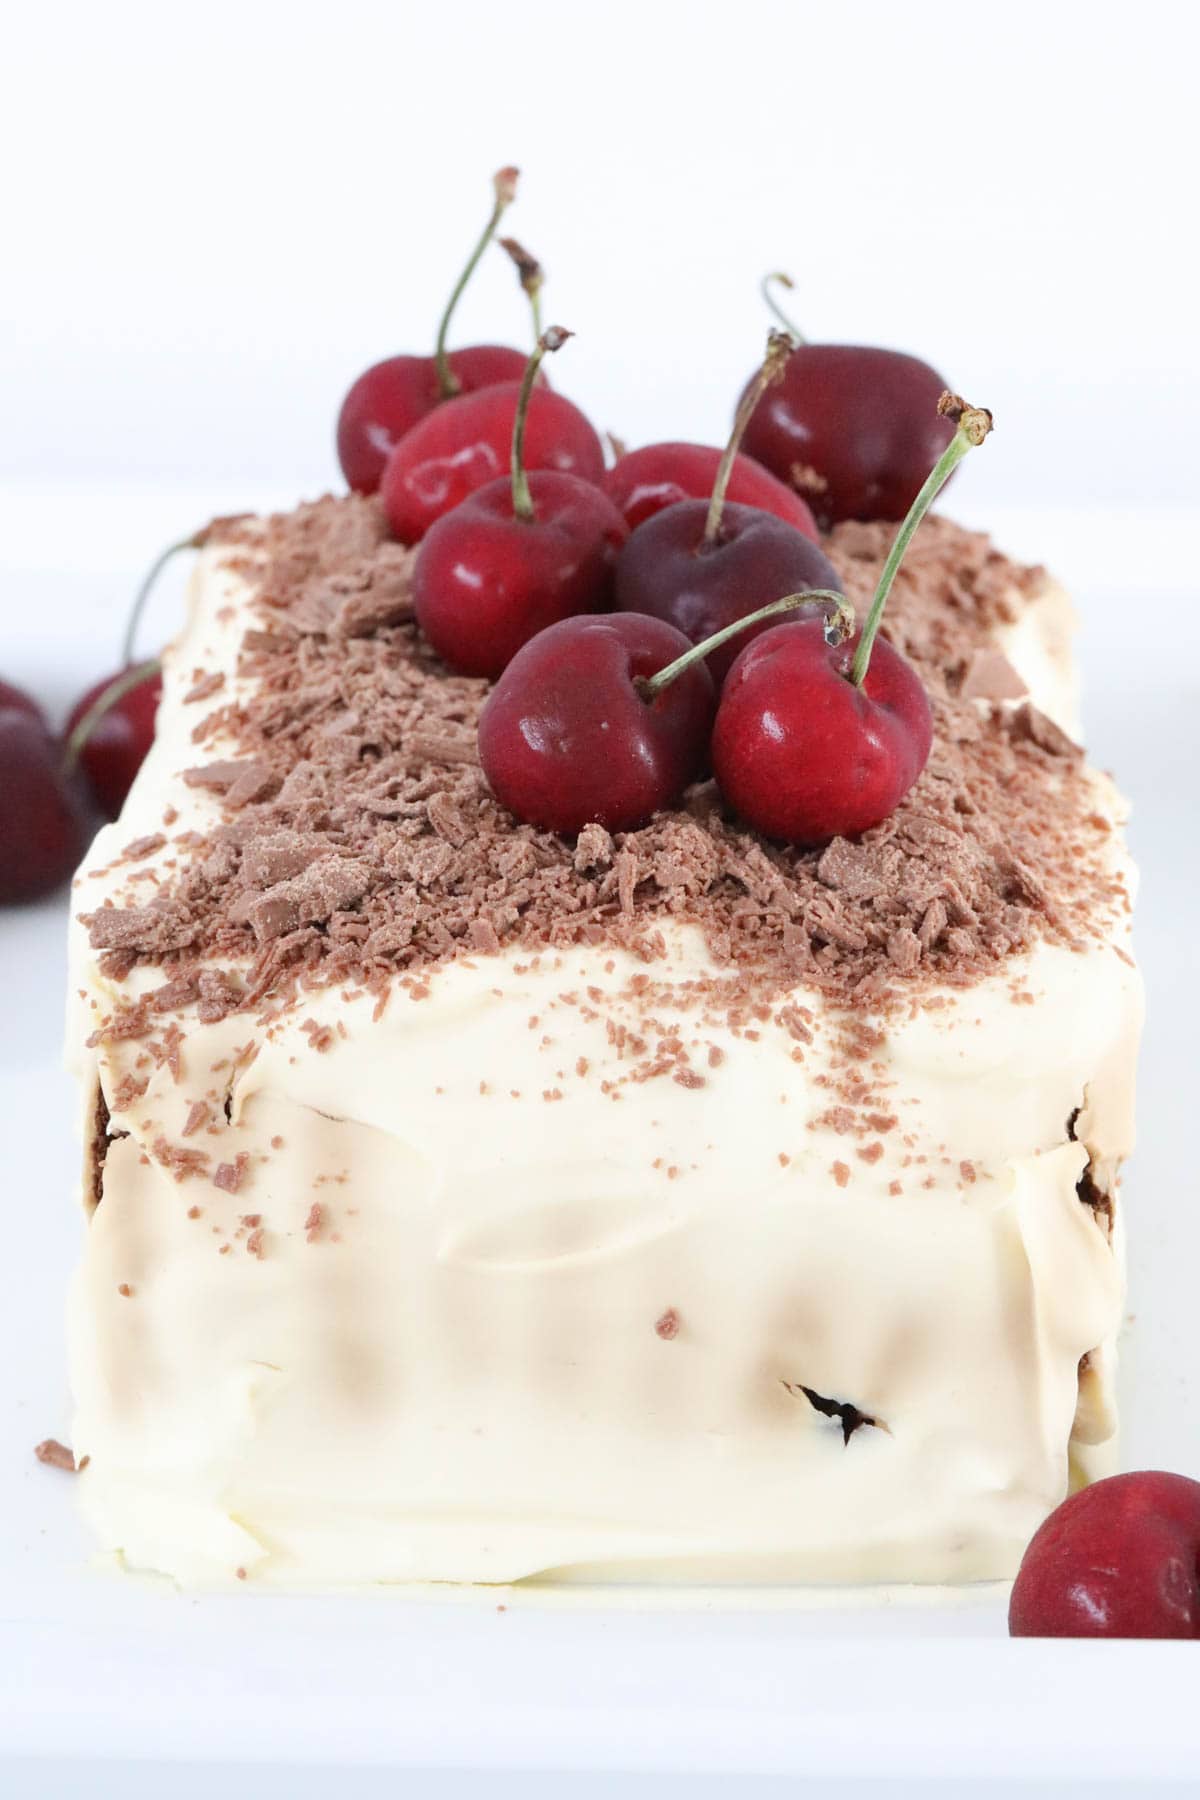
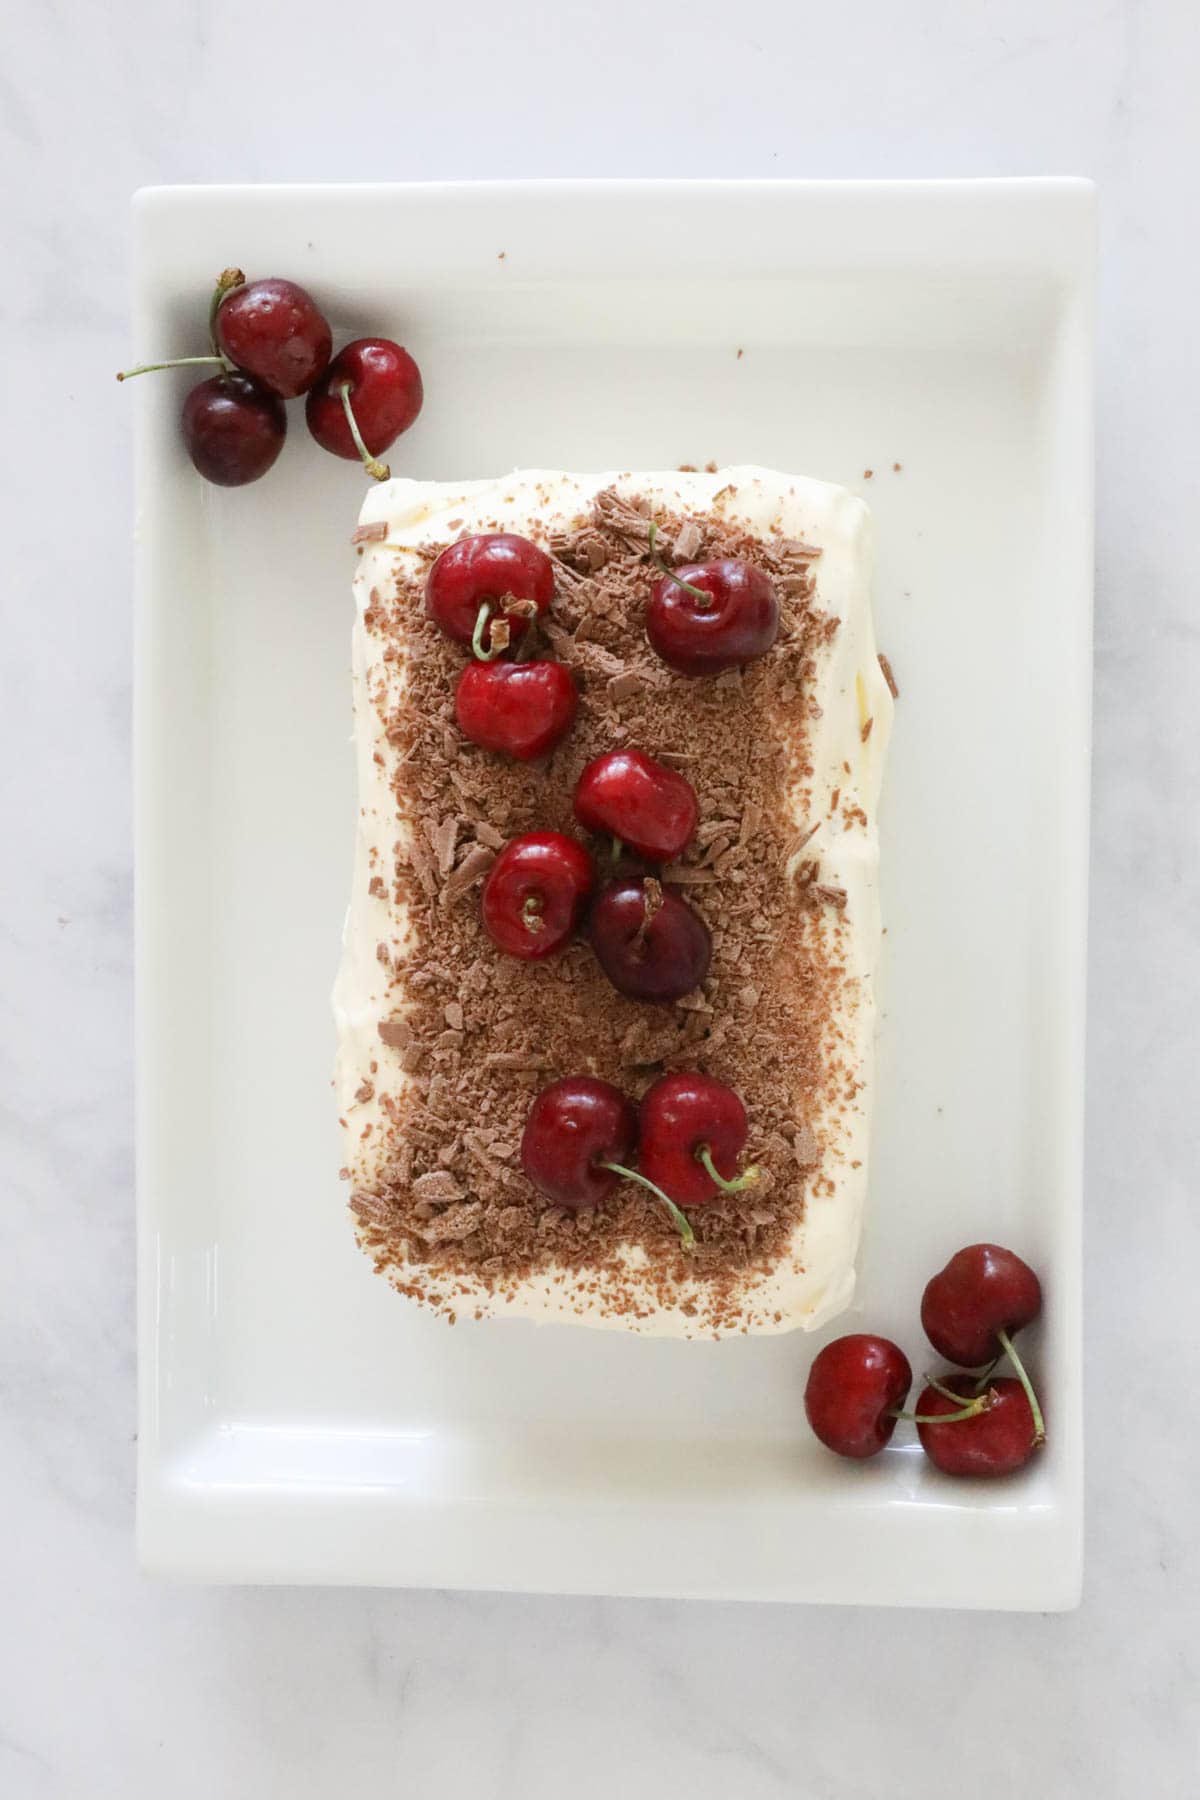
Cover the Thermomix chocolate ripple cake with the remaining whipped cream.
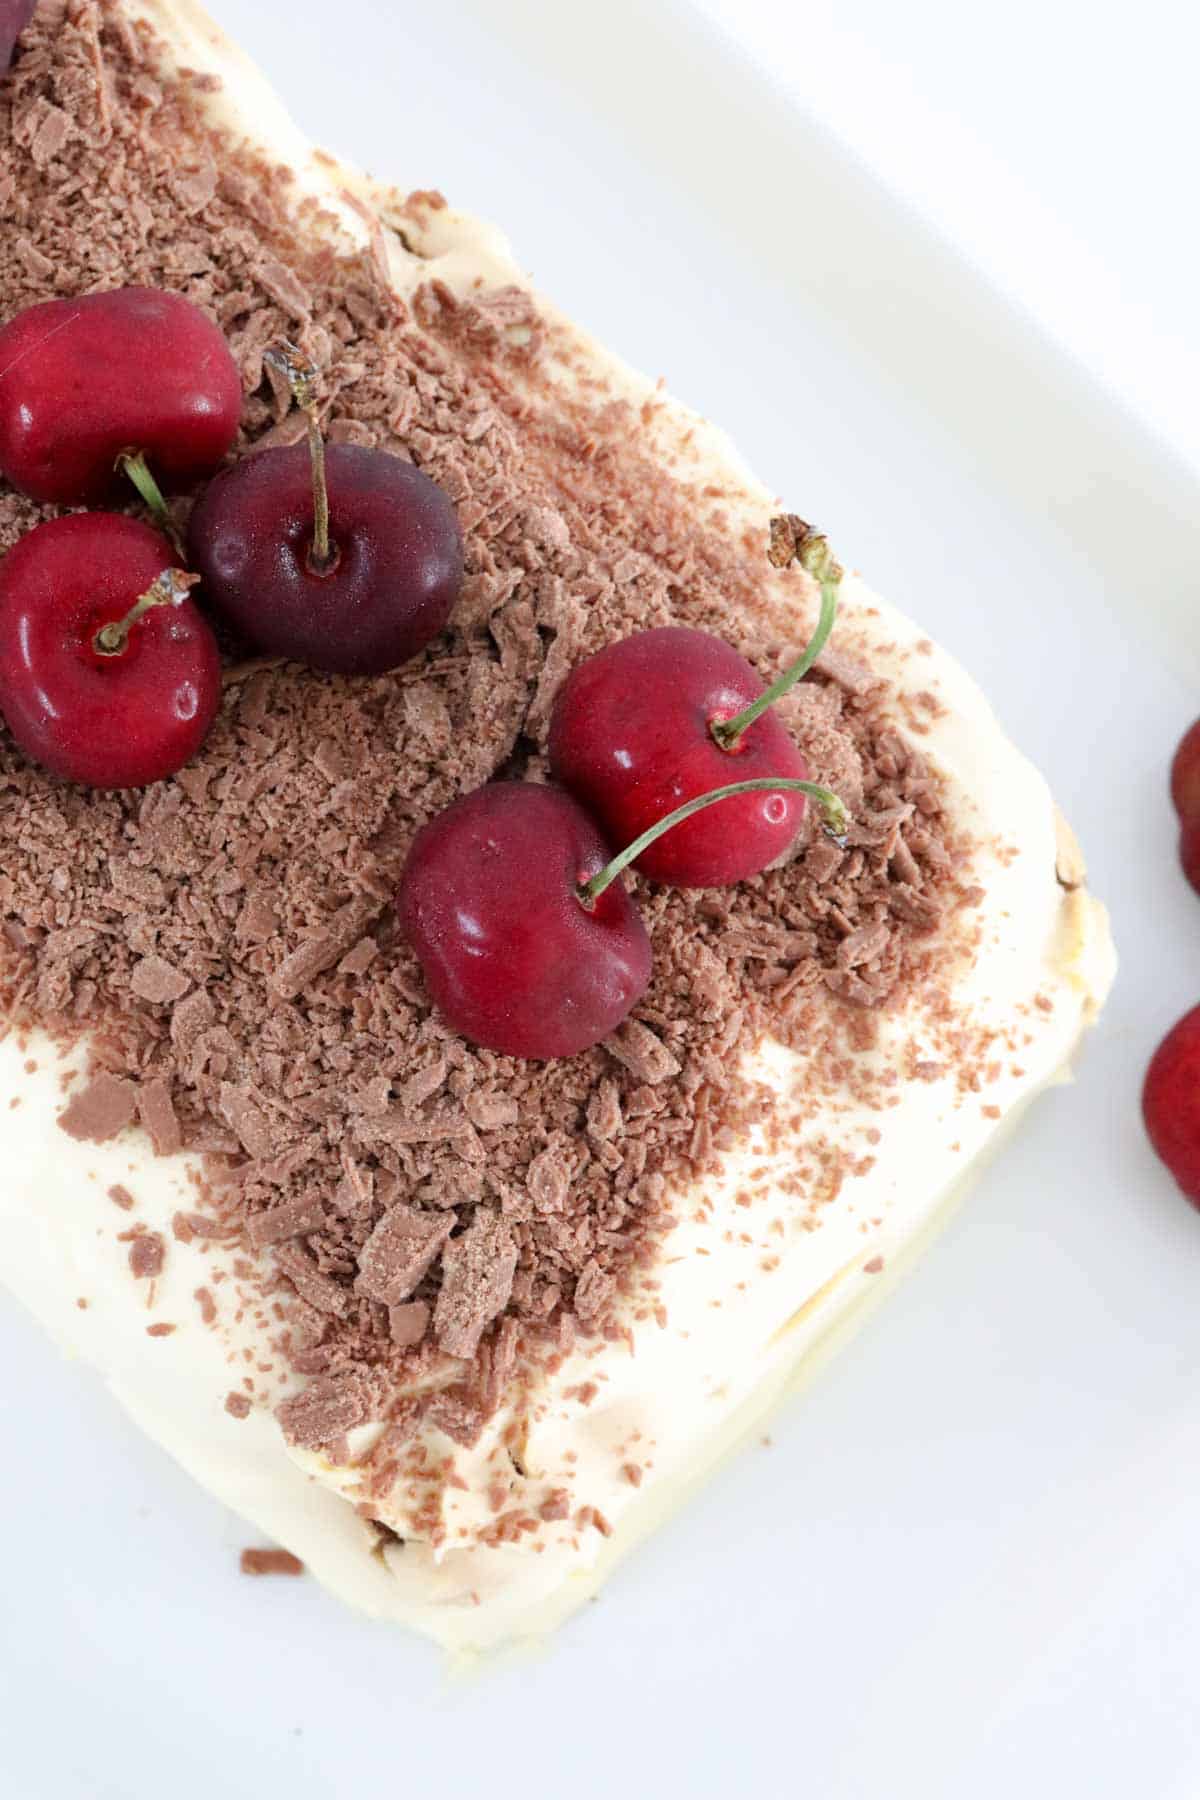
Decorate with fresh cherries and grated chocolate (or crumbled Flake bars).
Chill in the fridge overnight.
Expert Tips
Our expert tips are here to help you make the perfect Thermomix Chocolate Ripple Cake!
- Use Arnott's choc ripple biscuits for the best results.
- Use thickened or whipping cream (not cooking cream or light cream as they won't whip).
- The time it takes for the cream to whip depends on the freshness of the cream (cream nearing it's use by date will whip quicker).
- Decorate your Thermomix Chocolate Ripple Cake with fresh cherries and grated chocolate... or substitute with any of your favourite ingredients (such as crumbled Flake or Peppermint Crisp bars, fresh berries etc).
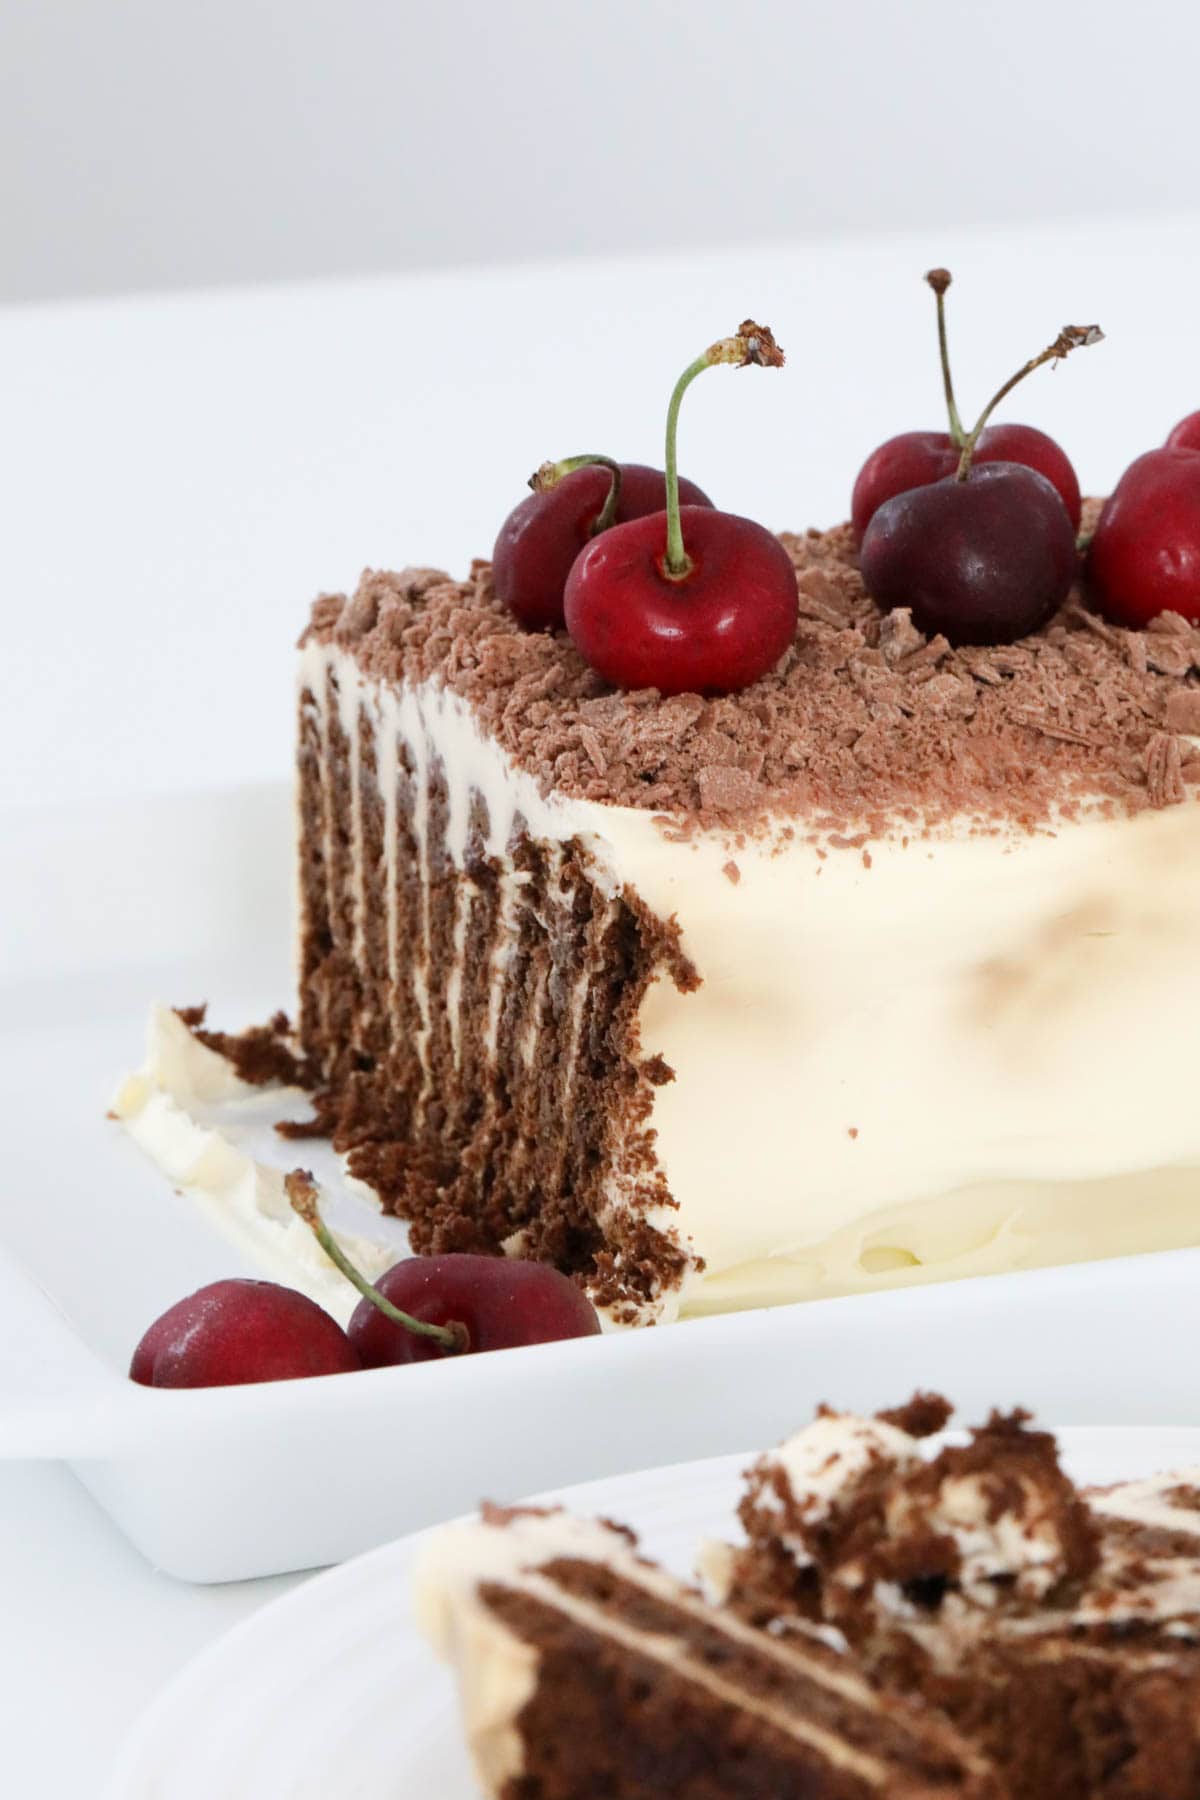
- Chill the chocolate ripple cake in the fridge overnight to allow the biscuits to soften.
- Store leftover choc ripple cake in the fridge for up to 3 days.
- This recipe is not suitable for freezing.
FAQs
No you don't. You can simply whip the cream on it's own without the addition of sugar or vanilla.
No! A chocolate ripple cake needs to be chilled in the fridge overnight to allow the biscuits to soften.
Yes! Simply whip the cream using handheld beaters or a stand mixer.
Related Recipes
We love how simple a classic chocolate ripple cake is to make!
Here's a few more of our favourite Thermomix desserts:


SHOP OUR RANGE OF THERMOMIX COOKBOOKS
Browse our collection of hardcopy Thermomix cookbooks here.
There's everything from family dinners to kids snacks, desserts to cookies, slices to Christmas recipes, cocktails to chocolate recipes and more!


Thermomix Chocolate Ripple Cake
Equipment
- Thermomix
Ingredients
- 600 ml thickened cream
- 1 teaspoon caster sugar
- 1 teaspoon vanilla extract
- 250 g Arnotts Choc Ripple biscuits
- grated dark chocolate and fresh cherries to decorate
Instructions
- Fix the butterfly into the Thermomix bowl. Add the cream, caster sugar and vanilla extract and beat on Speed 3 until soft peaks form Note: this can take anywhere from 30 seconds to a few minutes depending on the freshness of the cream.
- Spread a small amount of whipped cream onto your serving plate (to hold the choc ripple cake in place).
- Take 1 chocolate ripple biscuits and spread 1 teaspoon of whipped cream over the flat side. Sandwich together with another biscuit. Repeat until you have a stack of approximately 5-6 biscuits.
- Place the stack onto the serving plate.
- Repeat with the remaining biscuits.
- Spread the remaining whipped cream over the entire outside of the biscuits (covering them completely).
- Decorate with fresh cherries and grated dark chocolate.
- Refrigerate overnight to allow the biscuits to soften.
- Cut into slices and serve.
Notes
- Use Arnott's choc ripple biscuits for the best results.
- Use thickened or whipping cream (not cooking cream or light cream as they won't whip).
- The time it takes for the cream to whip depends on the freshness of the cream (cream nearing it's use by date will whip quicker).
- Decorate your Thermomix Chocolate Ripple Cake with fresh cherries and grated chocolate... or substitute with any of your favourite ingredients (such as crumbled Flake or Peppermint Crisp bars, fresh berries etc).
- Chill the chocolate ripple cake in the fridge overnight to allow the biscuits to soften.
- Store leftover choc ripple cake in the fridge for up to 3 days.
- This recipe is not suitable for freezing.
Nutrition
The post Thermomix Chocolate Ripple Cake appeared first on Thermobliss.